
MIUI 8.2.2 Global Stable ROM is now available to download and install. This guide will show you How to Download and install MIUI 8.2.2 Global Stable ROM on Redmi Note 4 or 4x. Follow each and every step of this guide to get MIUI 8.2.2 on Redmi Note 4/4x. This update is recently rolling out for Redmi Note 4 and 4x via OTA and will reach region wise. MIUI 8.2.2.0 Global Stable ROM on Redmi Note 4/4x
It will depend on your region, when will you get the update. So, if you can’t wait then you can easily download and Install MIUI 8.2.2 on your Redmi Note 4 manually without any issues. We have shared Recovery ROM as well as the fastboot ROM. If you face any questions then you can drop the queries in the Comment section. MIUI 8.2.2.0 Global Stable ROM on Redmi Note 4/4x
Pre-Requirements
- Make sure to backup your important data, apps, contacts, and messages. (In case if anything goes wrong)
- Make sure to first charge your mobile up to 60%.
- This MIUI Global Stable ROM is made for Xiaomi Redmi Note 4 don’t even try it on any other device.
Note: Gadgetcontroller.com won’t be responsible for any damage cause to your mobile during this process you have to do it at your own risk. don’t worry if you follow this guide carefully then nothing will go wrong
Downloads
Download Miui 8.2.2 Recovery ROM -> Download Link
Download Miui 8.2.2 Fastboot ROM -> Download Link
How to install Miui 8.2.2 Recovery ROM on Xiaomi Redmi Note 4
- Download the MIUI 8.2.2.0 Recovery ROM from the above link and copy the RecoveryROM file in the root of interal storage ( Don’t keep it inside any folder).
- Now rename the MIUI 8.2 file to ‘Update.zip’.
- Now go to MIUI updater app, which will be inside the tool folder.
- Now tap on the three dots ⇓
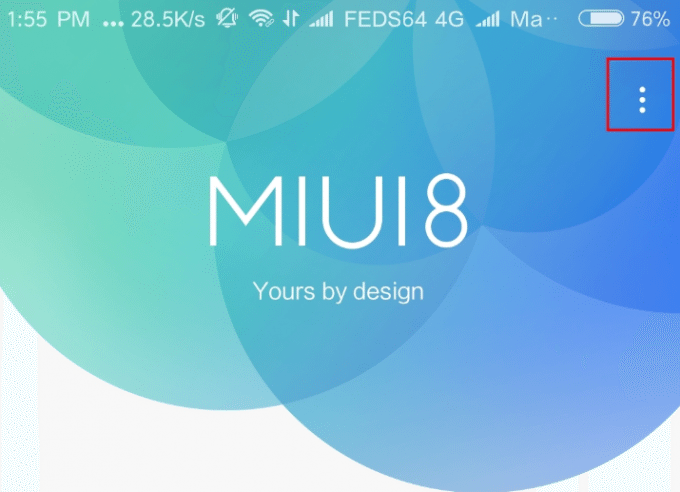
- After clicking on the three dots a list will be popup, now you have to tap on “Choose Update Package“.
- Now browse for the update.zip file which you have copied in the internal storage.
- Now installation process will start.
- Done !!
 & S6 Edge (SM-G925I)")
")
")
")
")
")
")

